Custom Bean Bag Set
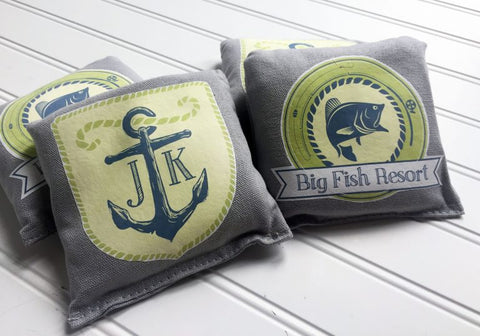
I don’t know about you but I’m pretty excited that summer is so near. Oh, and I definitely plan on spending as much of this upcoming Memorial Day weekend outside enjoying the sun playing and some outdoor games. That’s where this custom bean bag set will come in handy. My in-laws like to refer to their home as the “Big Fish Resort” (hence the bena bag logo) which is where we will be this weekend so I thought, what better way to pass the time?
Here’s What You’ll Need:

- Set of bean bags – color of your choosing. I got mine on Amazon
- NuFun Activities Light and Dark Transfer Paper
- Scissors
- Iron
- Inkjet Printer
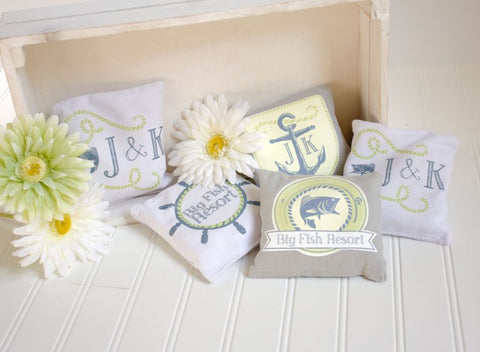
- Print your designs. Because I had both white and gray bean bags, I needed both light and dark transfer paper. For the white bean bags I chose graphics that had plenty of blank space that would otherwise be hard to cut out (doesn’t matter with light transfer because the background is transparent) and for the dark transfer I chose graphics that were easier to cut out nicely. I made these graphics using elements from All Free Downloads! Be sure to mirror the light transfer and NOT the dark transfer when you print!
- Cut out your graphics. See my tips for both light and dark below!

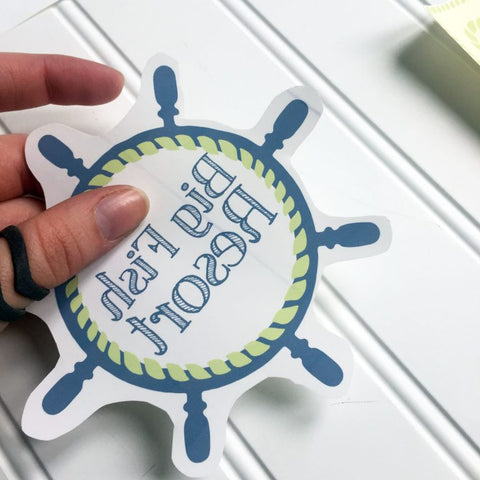
- Tips for cutting graphics with dark fabric transfer: Dark fabric transfer is opaque. This is so that the bright colors of your print are able to show up on a dark fabric. Think of it like a sticker. That being said, you will be able to see any of the white background on a dark transfer if you don’t cut it off. That’s why I chose graphics that were easy to cut out and didn’t have white space in the middle that would need to be cut out.

Notice how I was careful to cut around the texture of the rope border instead of leaving white space around it. - Tips for cutting out graphics on light transfer paper: The background on light transfer paper is transparent. This is allows it to actually “go into” the fabric rather than sitting on the top like a sticker (like dark transfer). That means you can be more loosey goosey about cutting out a graphic with light transfer because the blank space wont show up.
Notice how I simply bubble cut around the graphic rather than precisely cutting around each of the handles. - For the dark transfers, peel the backing paper and place printed side up on the bean bag. Cover with parchment paper and iron according to the instructions.
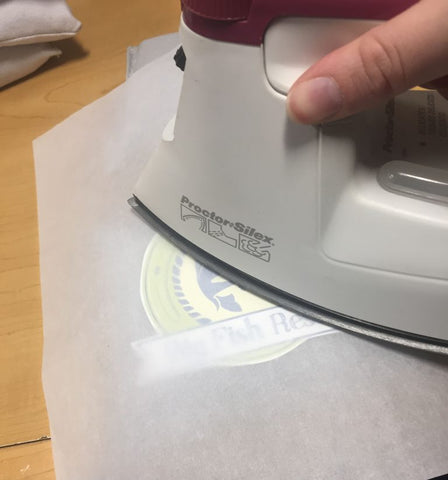
- For light transfers place your cut graphic printed side down on the bean bag and iron according to the instructions. Peel the paper while it is still hot. You might need to be sure to get the edges extra well as the bean bag is curved and might not get an even application of heat. Take your time here!

- Now you can dominate in a game of bean bags!